

")

Many businesses around Australia are quickly moving into takeaway as a revenue stream due to COVID-19. Making an ecommerce site doesn’t have to cost you thousands though. WooCommerce is free, easy to setup and easy to use.
Step 1. Install WordPress
Install WordPress to a new installation using your web hosting. I’m using Softaculous, an installing software found in most Cpanels.

Do not put it into a directory unless you have some other site on the main domain. Tip change the admin username for added security.
Every host is different and may use a slightly different installer.
Step 2. Add The WooCommerce Plugin
Once you’ve logged in go to plugins on the left hand side. Go “Add New”.

Use the search bar to find WooCommerce. It should up come up as the first search result. Click install.
This may take a minute to install it’s a fairly big plugin. Once it’s installed click “activate”.
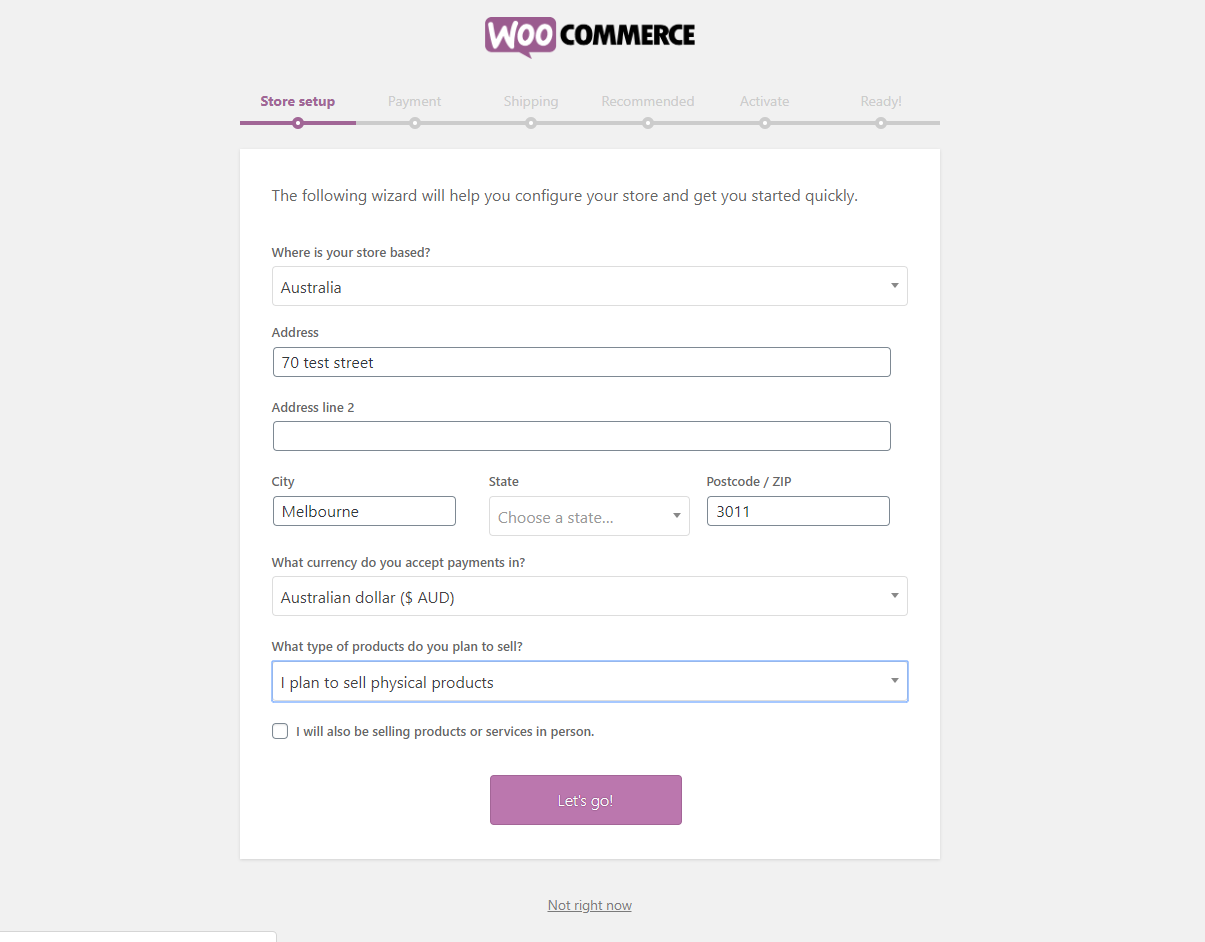
The WooCommerce installation wizard should come up. If it doesn’t click on WooCommerce plugin on admin bar on the left hand side. You should get this:
Once you get to payment you should see this:
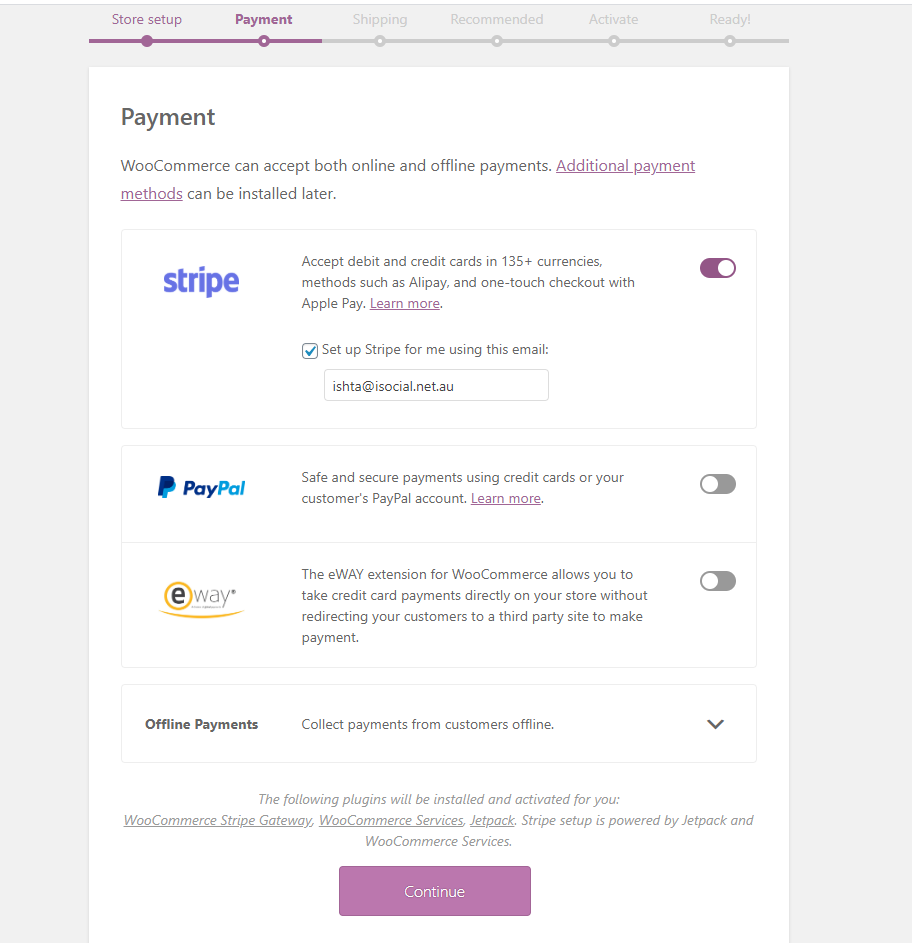
I highly recommend using both stripe and paypal. You’re bank might also have a payment gate way you can use. Even if you’re going to use your banks gateway. I’d setup stripe first and then move. There are multiple plugins that will allow you to do this. However, stripe has the most compatibility.
Skip shipping because I’ll go into the detail about that later.
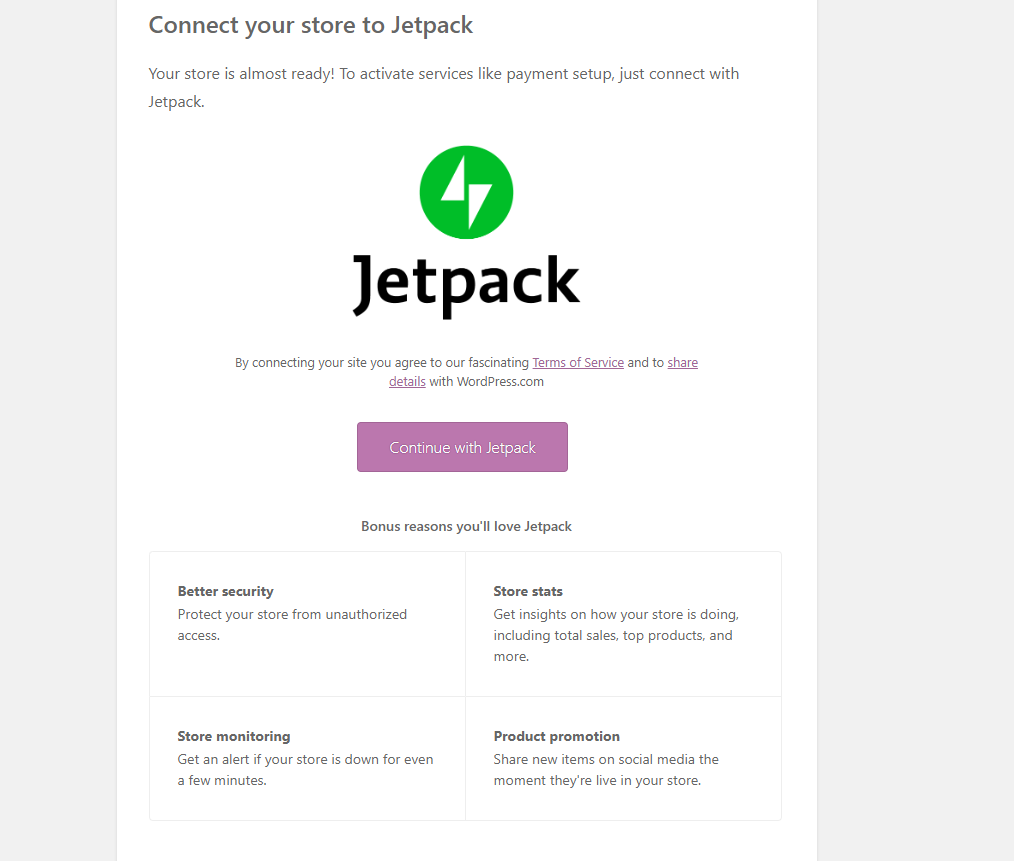
WooCommerce has a lot integration for Jetpack. You don’t absolutely need but it does have some good features especially for people new to WordPress.
Step 3. Add Some Products
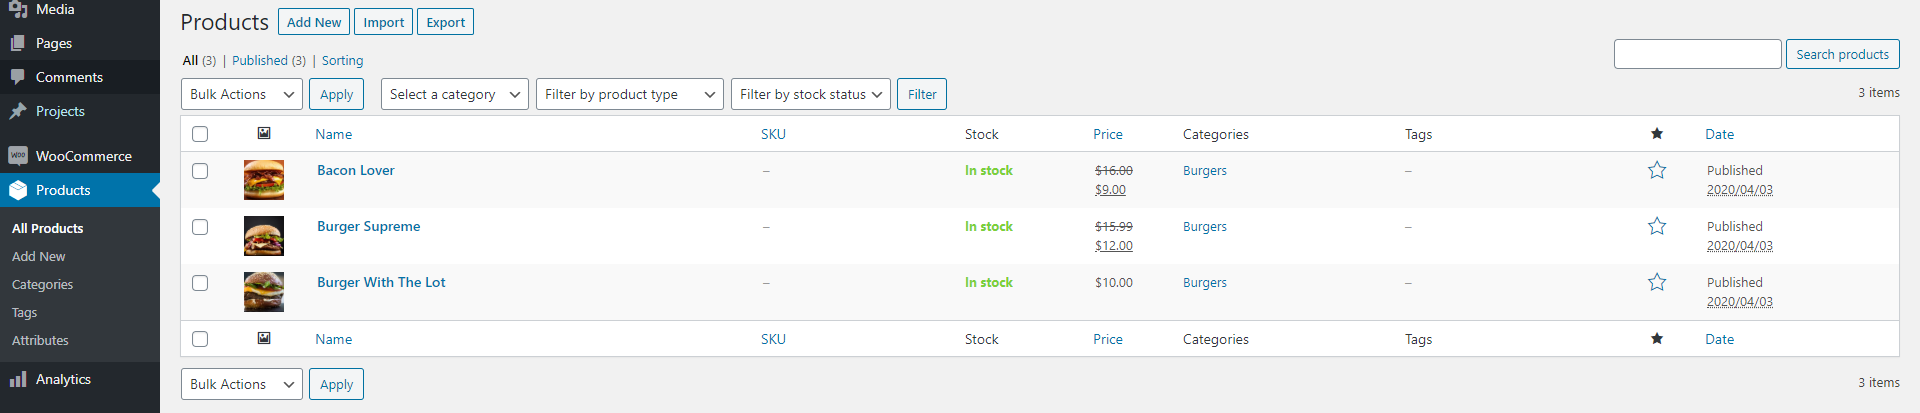
If you’ve used WordPress before “Products” work similar to posts. When you click new you get taken product editor screen.
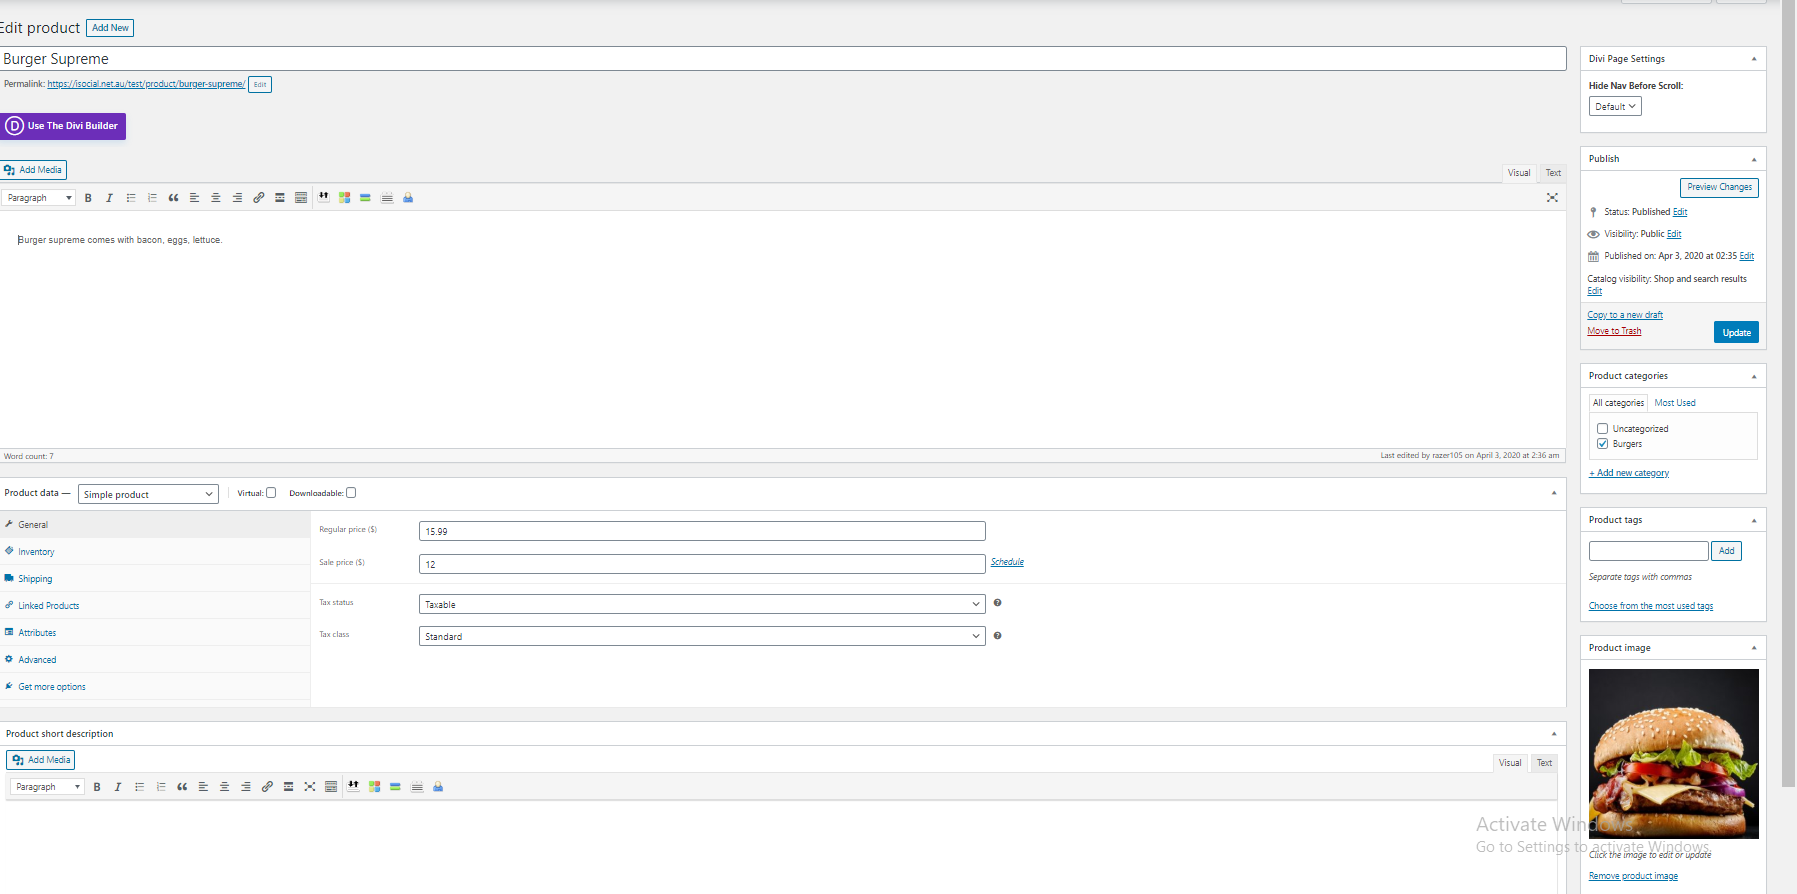
I would recommend to start only changing the description, product image, category, and price (& special price if you want – for discounts).
I wouldn’t recommend adding tax to start with. Add tax to the price and if you want to utilise that function you can get into it later.
Step 4. Check your settings
It’s important to go through and make sure everything has been setup correctly.
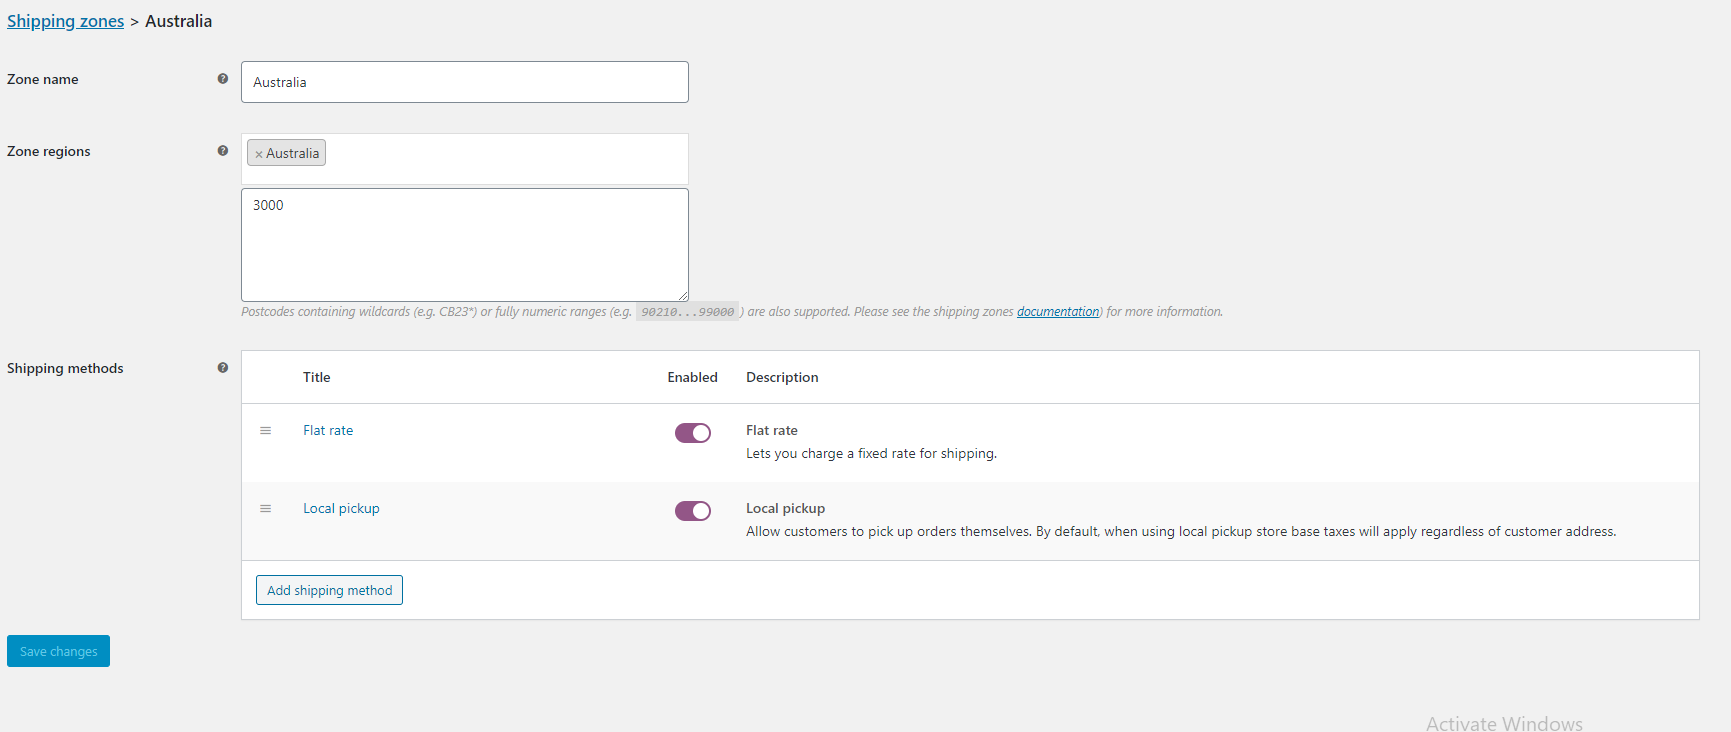
Shipping
This part is one of the most important for takeaway businesses. 
You’ll have to decide which postcodes you want to deliver for. I’m going to use just one flat rate only servicing the Melbourne postcode 3000. You’ll want to put all the suburbs you’re able to deliver to. You can also create multiple zones depending on how far out they are and charge them more. However, all postcodes must be typed in Manually.
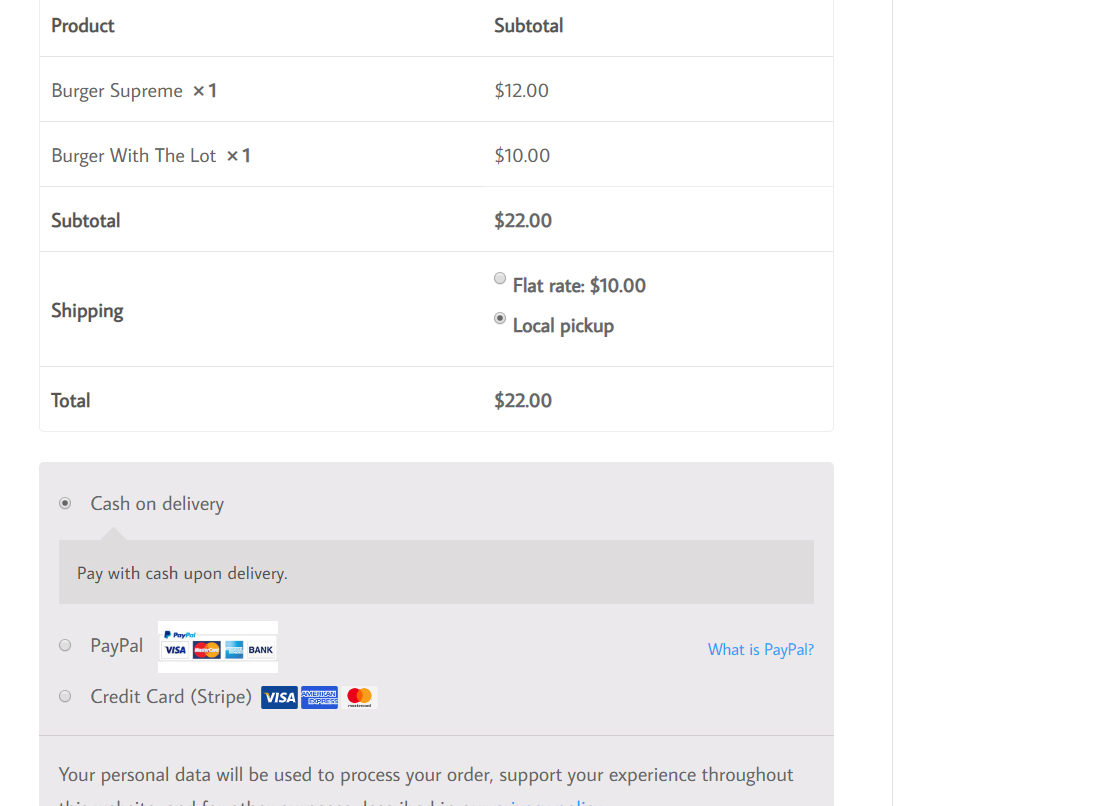
Payment Settings

I’m going to use three. Cash on delivery, paypal, and stripe(for credit cards).
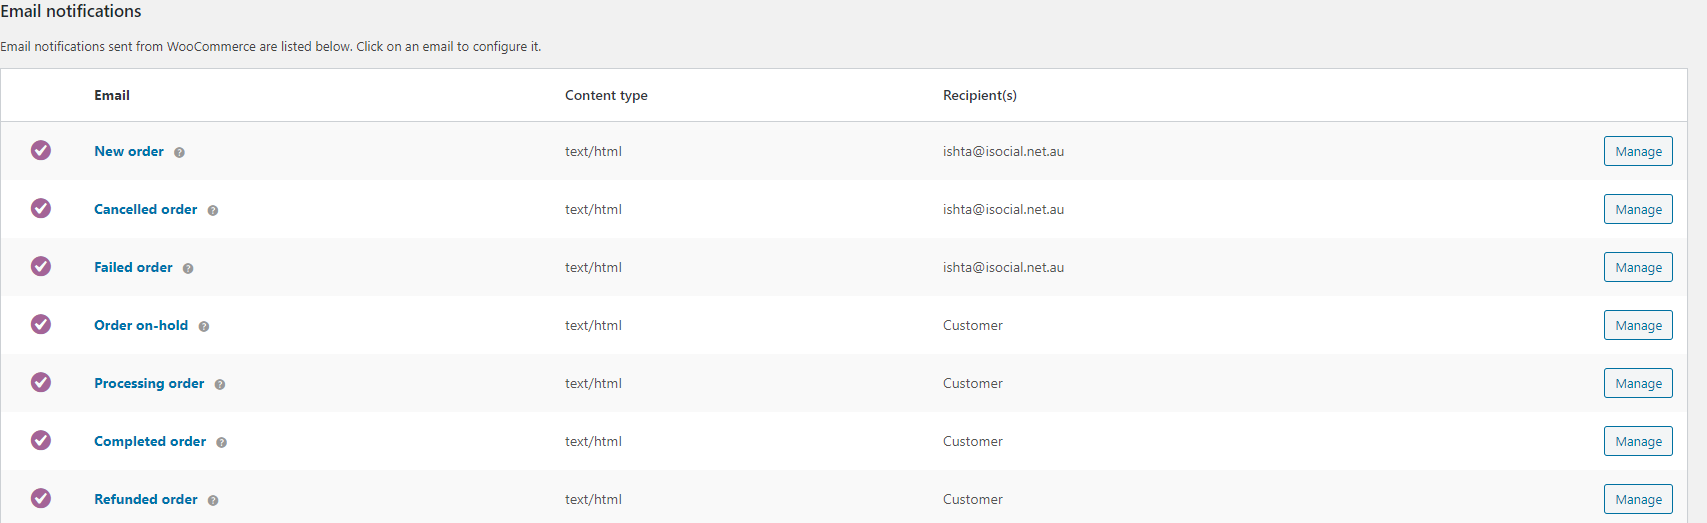
Email Notifications
This is mostly done for you, but you might want to fiddle with it.
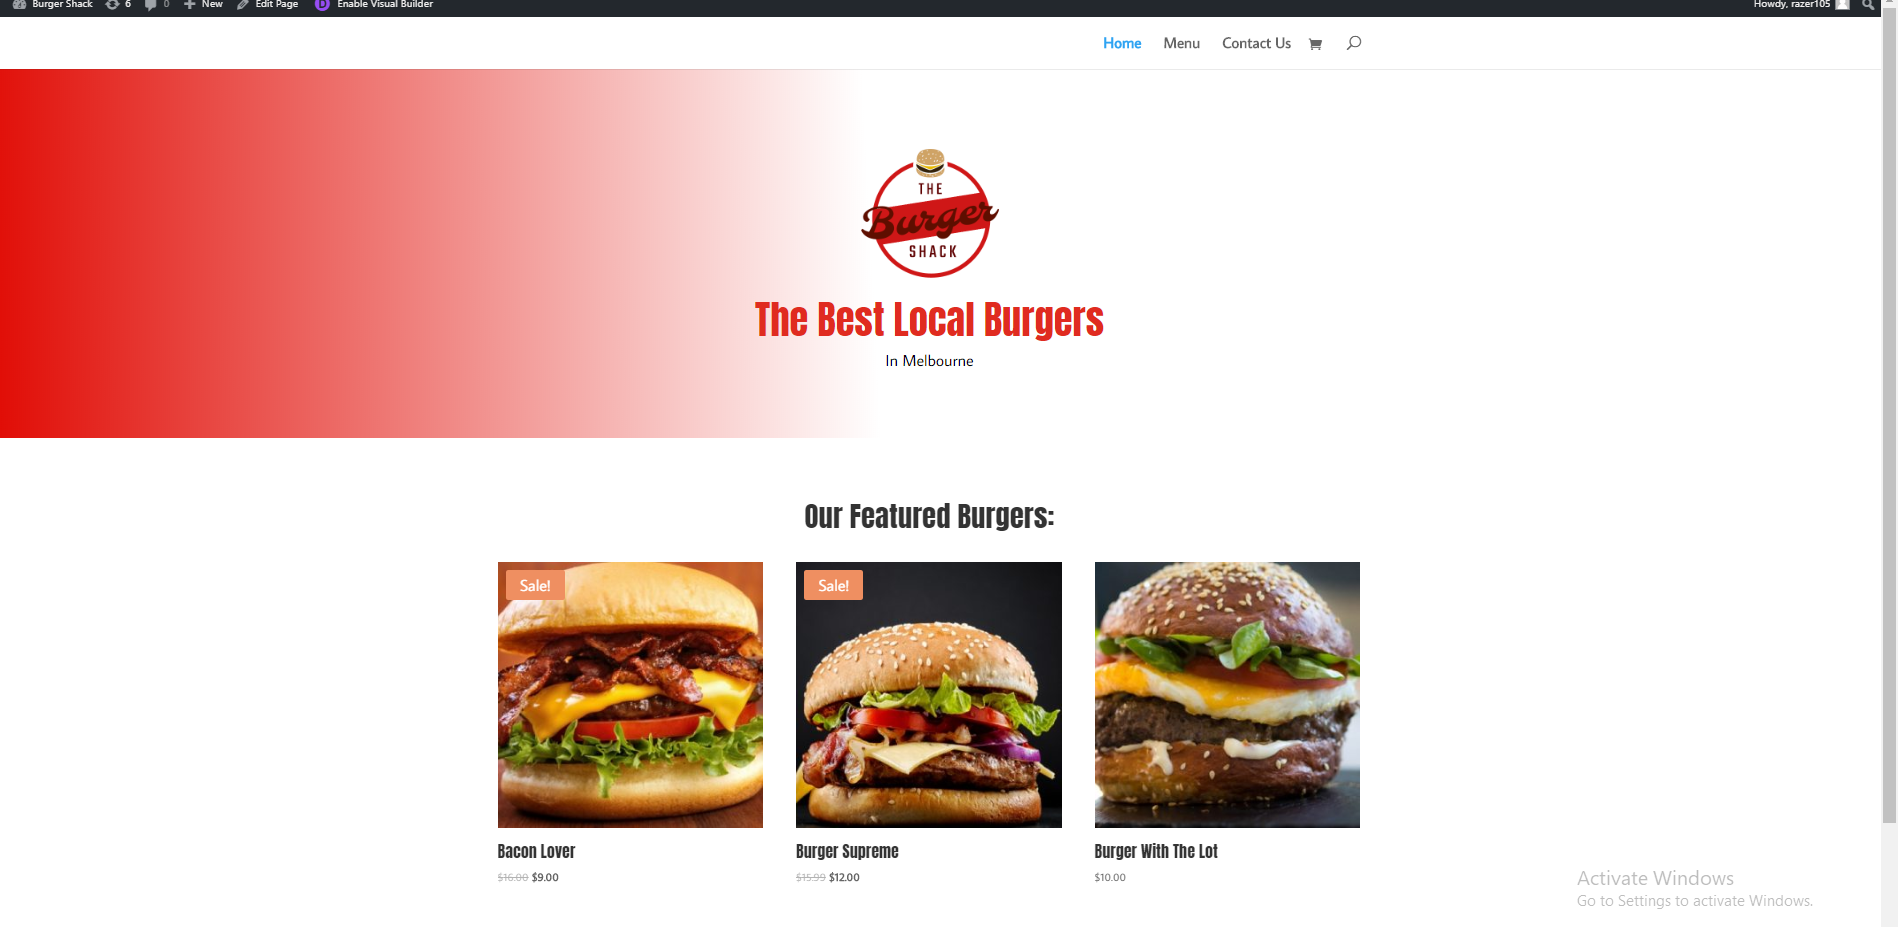
Step 5. Create Your Website
There are multiple ways to do this. You can use a basic theme and then edit the contents. One theme I stumbled on which looks great is the Mantlelit WordPress Theme.
I’m going to use DIVI Theme because it comes with a theme and builder in one.
Here’s what I came up with:
Product Page:

Step 6. Check To Make Sure It Works
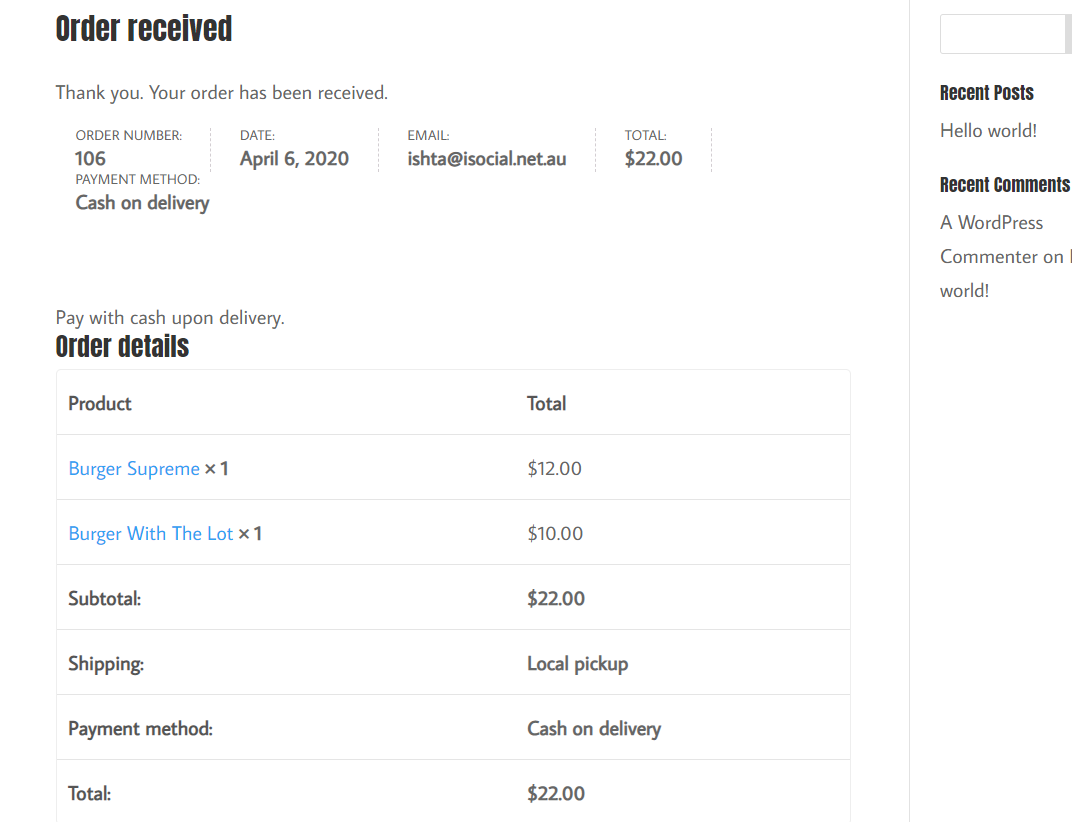
Go back to the WordPress back-end and click the orders tab. You should see the order there.
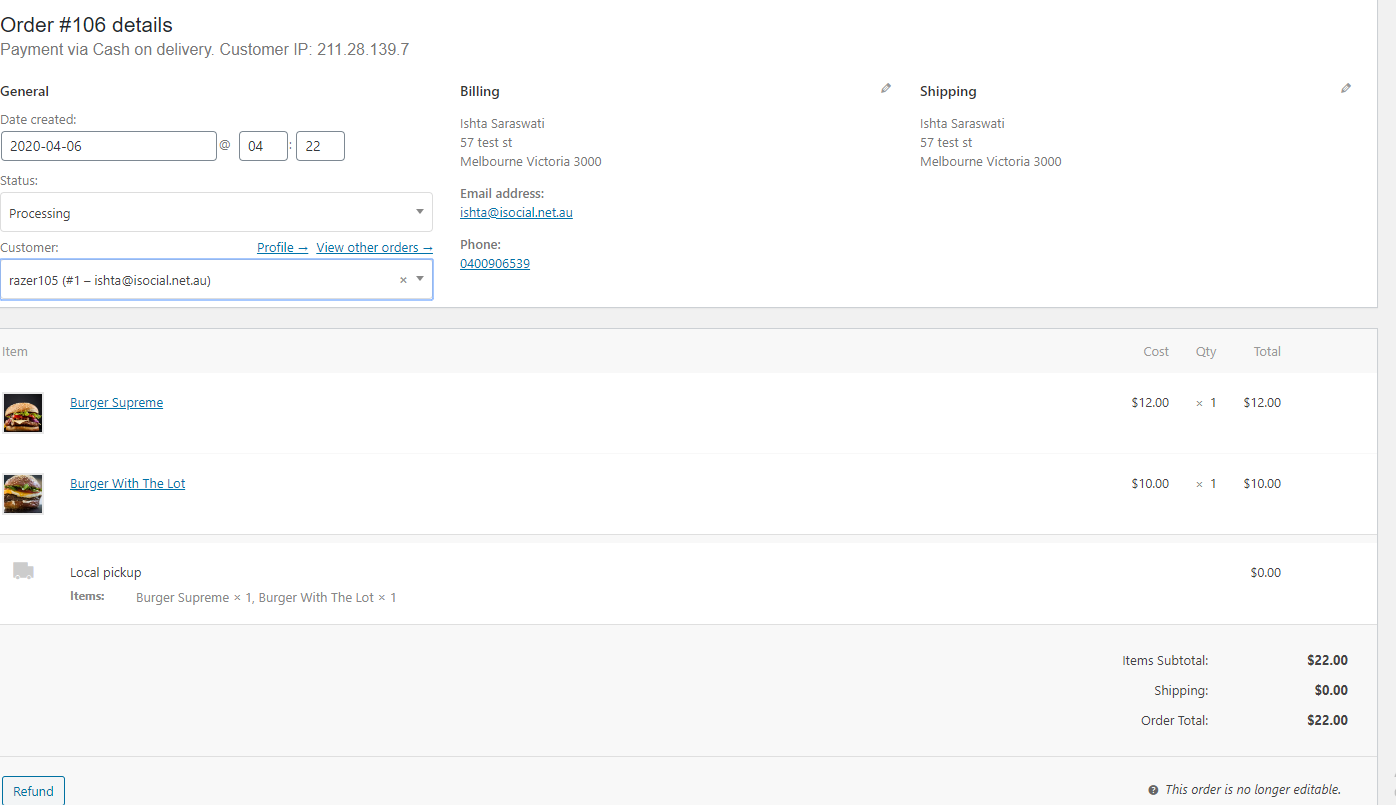
Once the order is processed change the status to complete.
And that’s it!
Conclusion:
There are no limits to using WooCommerce. There are hundreds of plugins to use to customise the look, use and much more! If you already have an existing WordPress WooCommerce can be easily added to give that other avenue of revenue.
0 Comments